Total Pageviews

Showing posts with label DCAM Dies. Show all posts

Friday, 26 April 2019

Have a mice day!

Hello DCAM fans!
Happy Friday!

It's too hot in Delhi, so I am presenting a sweet creation in shades of soothing blue to chill the day!


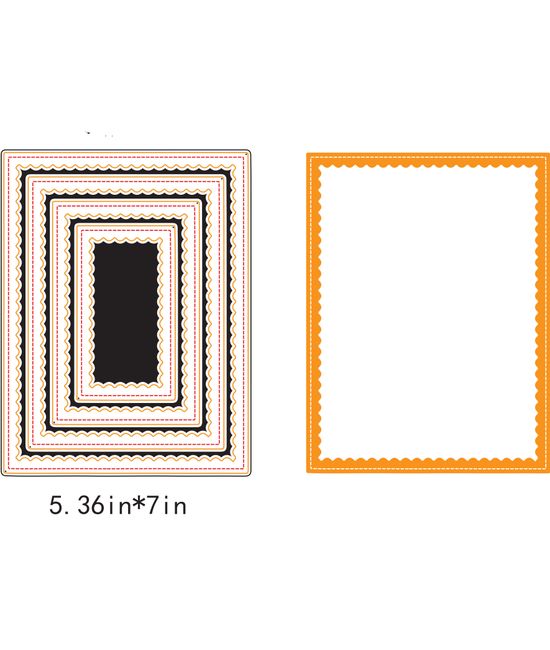
I created a very sweet card using a cute mice image playing with a balloon. I fussy cut the image and applied matching distress ink at the edges. For the focus on the image, I randomly applied some DO inks on my sheet and swiped away my die cut scallop rectangle panel along with a frame.
Added so many layers of cardstocks and PP. And the cloud print PP fit so well with this cute mice image I die cut a tag with circles print!


Finished it with some enamel shapes and a sentiment label. And added some bold die cut letters Enjoy in black!


Wishing you a very nice(mice) day!
Will come back soon!

Happy crafting!
Vinita Jain

DCAM Supply List

Monday, 17 December 2018

Celebrate some special moments Layout!

Hello everyone!
Happy Monday!

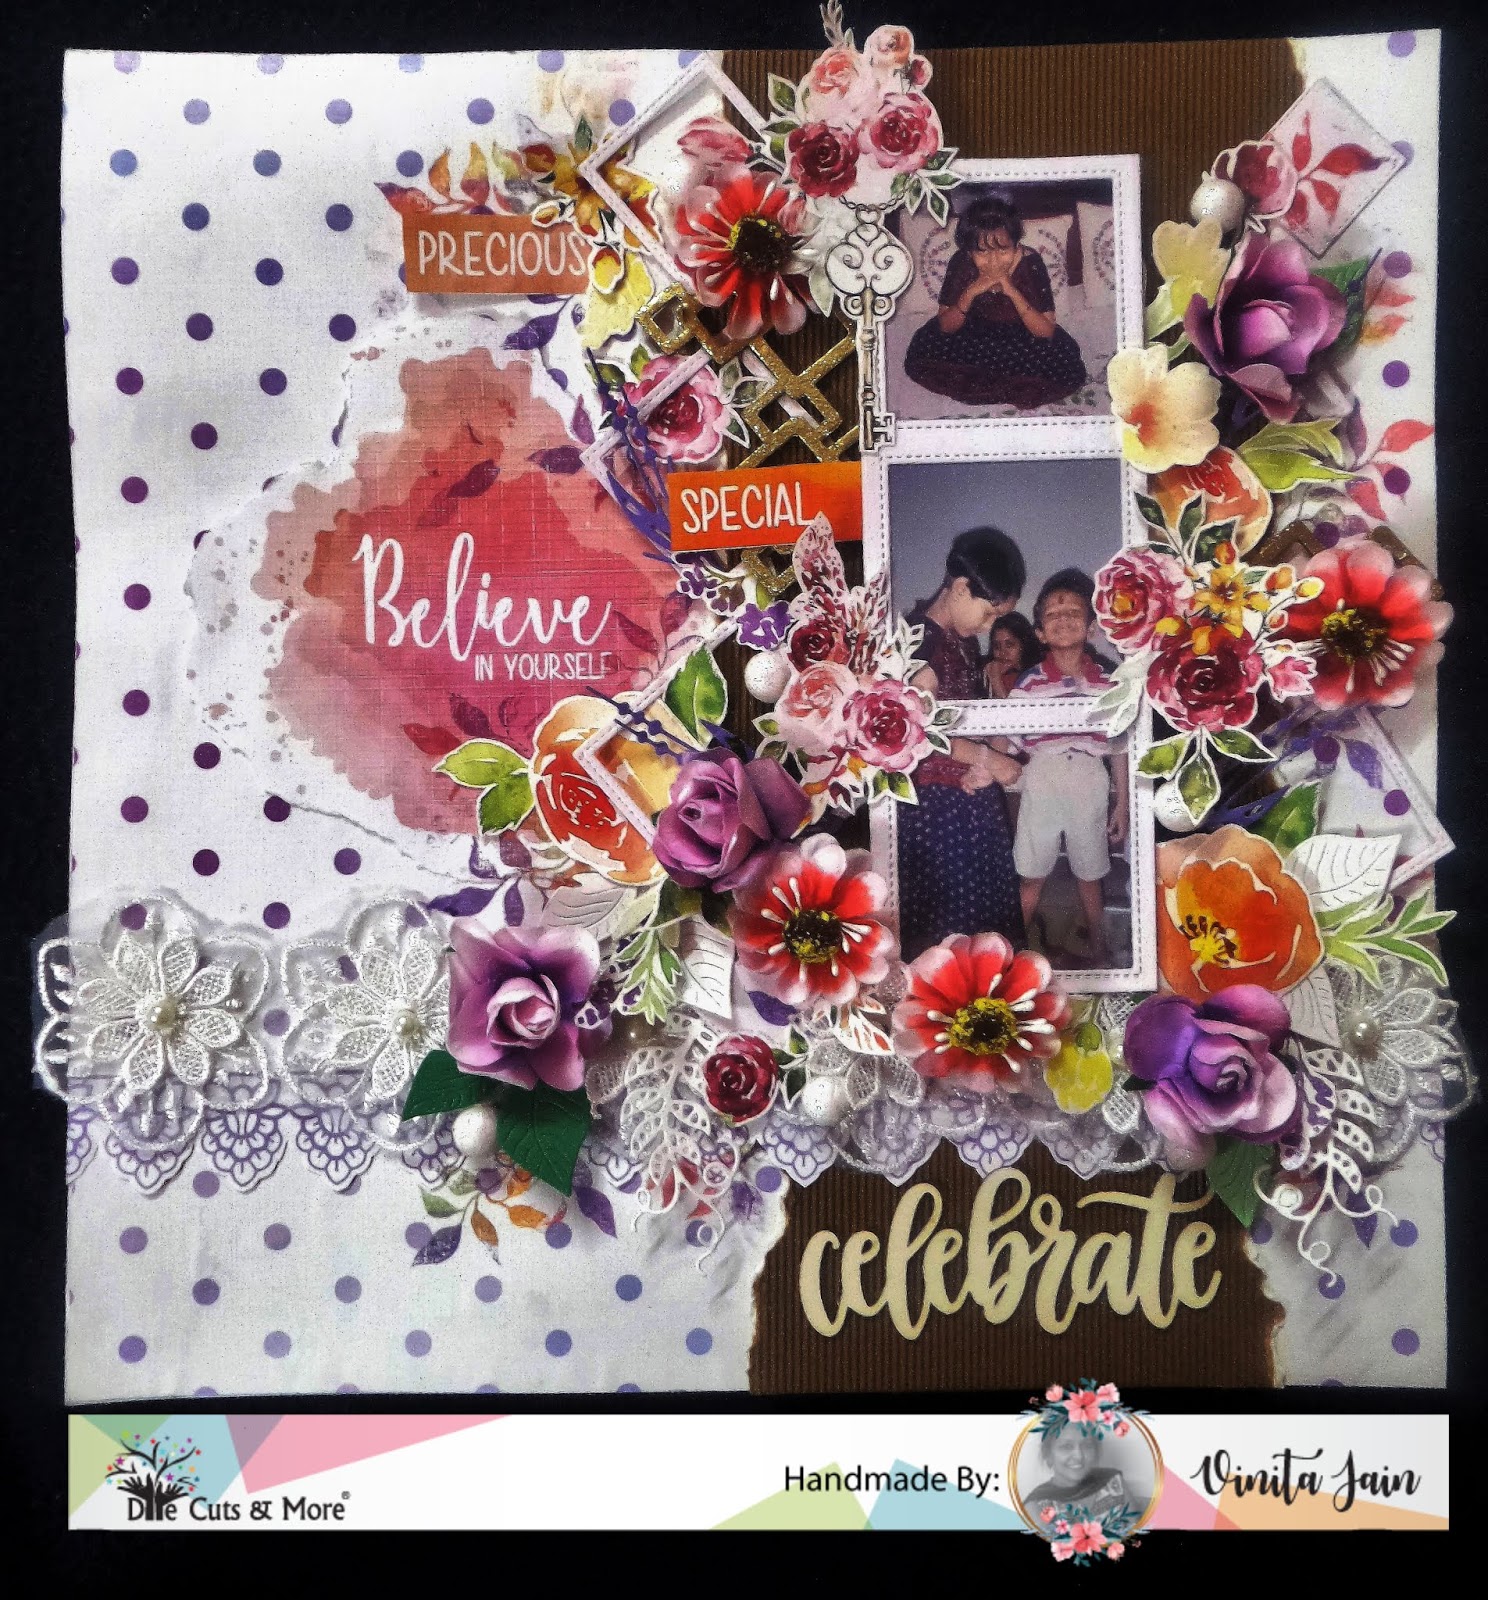
Vinita this side with my new pretty layout this time showcasing new critter sheets release and scripted sentiment!


This specific layout is all about believing in traditions and all Indian festivals, their significance!
The images are the celebrating Raksha Bandhan Festival! The significance of Raksha Bandhan is huge in our country! It is celebrated no lesser than any other festival, as it is dedicated to the love of a sister and her brother. It holds immense importance in our lives and in Hinduism! On this day sister ties Rakhi around her brother's wrist while the brother undertakes an oath to protect his sister until death and I totally believe in this tradition. He vows to stand by her sister through thick and thin. Sisters tying the sacred thread around the wrists of brothers is a symbol of attachment, meant to strengthen their bond of love,  so I wanted to capture those precious and special moments and gifted this LO to my daughter.
These cute photos of my children have long been waiting for their time!


I wanted to create a delicate, multi-layered and voluminous page with a lot of love and tenderness!
I fussy cut out the images from the critter sheets, some die cuts and a scripted chiplet word celebrate, later I chose the white one.
I chose a watercolored dotted PP for this LO. and added a torn strip of the corrugated sheet in dark brown with some watercolored look sentiments.
There is a lot of stamping work using some leaves, heat embossed some chippies in gold glitter and embellished it with some beautiful flowers along with a pretty floral lace.


Now some close ups:


Saturday, 24 November 2018

Two pretty cards!

Hello friends!
Happy Saturday!

Vinita here Today, I m so excited to share with you two pretty cards that I created with awesome printed Critter sheets and this time I received some uncolored imaged too:)
Mansi has done a super job again! She has completely created unique and detailed critter sheets set! Pretty Anemones set has uncolored floral images and Humming Bird set has some different sizes of flowers, large and small hummingbirds with different sizes leaves!
My first card is showcasing pretty Anemones! I really enjoyed coloring them and these florals are perfect for any coloring medium!


Card#1
Pretty Anemones


To create my own pattern background, Placed the dual cube stencil on the white surface area and secure it with washi tape or painters tape. Add pattern to your project by blending inks. Gently pull the stencil off from the project area to see the result.


This stencil will help you to create an amazing woven background. Flip the stencil over the pattern and then apply the different color to achieve the good result.

Then I fussy cut some anemones from the ready to color anemones critter sheet and started coloring with some Chameleon pens. Add depth by shading using polychrome pencils of the same color shades.


Die cut some duo leaves, colored them and added some white gel pen dots.


Now I placed the stencilled panel in two different angles with my blooms and leaves. Added the fussy cut sentiment.  Added the fussy cut Congratulations banner from Sentimental bannerrific Critter sheet. Embellished it with some enamel dots.
Love the way it turned out so beautiful! I hope you enjoyed this card. There are a lot of possibilities with this critter sheet Anemones flower!

Card #2
Humming Bird


I started by fussy cutting some floral clusters, leaves and hummingbirds from DCAM Hummingbird critter sheet.


On a piece of heavy white CS, I created a woodgrain background using texture paste and with my woodgrain tool I created the textures and inked it. While it is still a little wet I sprinkled some Mermaid glitter powder for more interest and textures.


That beautiful border on the bottom was created by die cutting one of the dies from DCAM Pierced Scallop Borders dies set.


Isn't that hummingbird absolutely amazing? Seriously, Mansi Thinks of everything!!!
It is so easy to create any scene with dimensions and textures with so many components! And that bold chiplet sentiment Hello is icing on the cake! Finished it off with a shine on sentiment and some gold dots.


DCAM Supply List


Thursday, 22 November 2018

Brushed Paint Technique with DCAM

Hey guys!

Spardha here from The Lazy Owl Designs with an awesome technique I'd like to share with you today :)


So, like I promised, this one shall be the last Diwali post from my end and we'll be moving on to Christmas celebrations. Today, I'd like to share with you a brushed paint technique using dry embossing pads.


Embossing pads are fairly easy to use and provide you with a great texture for your project backgrounds as they are but they are super fun to use with added colours. Instead of using an ink pad, I dipped a dry paint brush into thick golden paint and swiped it on the embossing pad.
Inserting a solid white sheet of paper and embossing it using my Sizzix machine transferred the design with a beautiful washed-out colour effect on the card matt.


I added the diya cut-out with some "bling" and gold embossed sentiment to complete the look.
DCAM Products Used


Hope you guys try it out and tag us with your projects using DCAM products :)

--- Happy Crafting! ---

Wednesday, 14 November 2018

Celebrate with Magnolia Delight!

Hello friends!
Vinita here!

Today I am representing a very simple but an attractive card with dimensions which can be used for any special occasion.


I started with blending some DI Mermaid lagoon and Cracked Pistachio on a textured white panel. Then using DCAM Box stencil created a pattern. Die cut an inverted scalloped rectangle frame in white. Fussy cut some Magnolia flowers from DCAM Magnolia Delight Critter Sheet.


Added a sentiment at the top corner on the blended panel. Adhered this panel on a white card base. Using adhesive foam dots, I adhered all the fussy cut flowers with a frame with a lot of dimensions.
Adhered that bold and beautiful DCAM Chiplet sentiment in black with some sparkling clear droplets.


Hoping you enjoyed this pretty creation!

Have a wonderful day!


DCAM Supply List


Thursday, 25 October 2018

A card and an envelope!

Hello everyone!
Happy Thursday!

Vinita here! Today I am showcasing easy-peasy but elegant projects.


Card


For this card, I did lots of fussy cutting and die cuts some frames first.


Created a watercolored panel with texture and splatters using acrylic paints in fall color theme and to match those fussy cut floral elements.


Now time to decorate your card. Added nuvo white crystal drops for more dimension to the abstract florals centre and all fussy cut elements. Fussy cut HUGS alphabets too carefully. Embellished it with some sequins.


Envelope

I created a festive feel envelop for Diwali. I decorated both sides of the envelope.
This is the front of the envelope


And this is the back side of the envelope.


Here is the full look of the envelope.


I started to make my own stencil pattern using 3D step pattern builder stencil. Fussy cut some floral elements from golden blue delight critter sheet. Die cut the last two smallest Margeurita flowers, distressed them, shaping them. Die cut some leaves from a brown textured sheet.
Die cut a pierced scallop border from a blue glitter sheet.
Now dressed up my envelope with all beautiful elements.


Hoping you all enjoyed today's projects!
Thanks again for taking the time to drop by!

Have a wonderful day!


DCAM Supply list


http://diecutsandmore.com/product/abstract-florals-alphabets/


http://diecutsandmore.com/product/golden-blue-delight/


http://diecutsandmore.com/product/3d-step-pattern-builder-stencil/


http://diecutsandmore.com/product/inverted-scallop-rectangle-frame-dies/


http://diecutsandmore.com/product/leaves-with-tendrils/


http://diecutsandmore.com/product/wild-grass/


http://diecutsandmore.com/product/margeurita-flowers/


http://diecutsandmore.com/product/split-envelope-die/


http://diecutsandmore.com/product/pierced-scallop-border-dies-set-2/


http://diecutsandmore.com/product/lower-case-bold-xl-alphabets-copy/


http://diecutsandmore.com/product/snow-festival-mix/