Hello everyone! How are you all doing? Well its November my favourite month of the year all thanks to the good weather n becauseee its my Birthday Month :D
So today i decided to make something for myself as a birthday gift lol see this is what happens when you are a crafter n you want to recive something handmade especially created for you :P
Because i am a vintage fan i decided to use the Gorgeous Prima Divine paper pad!! Its a fabulous paper pad lots of pretty vintage prints!
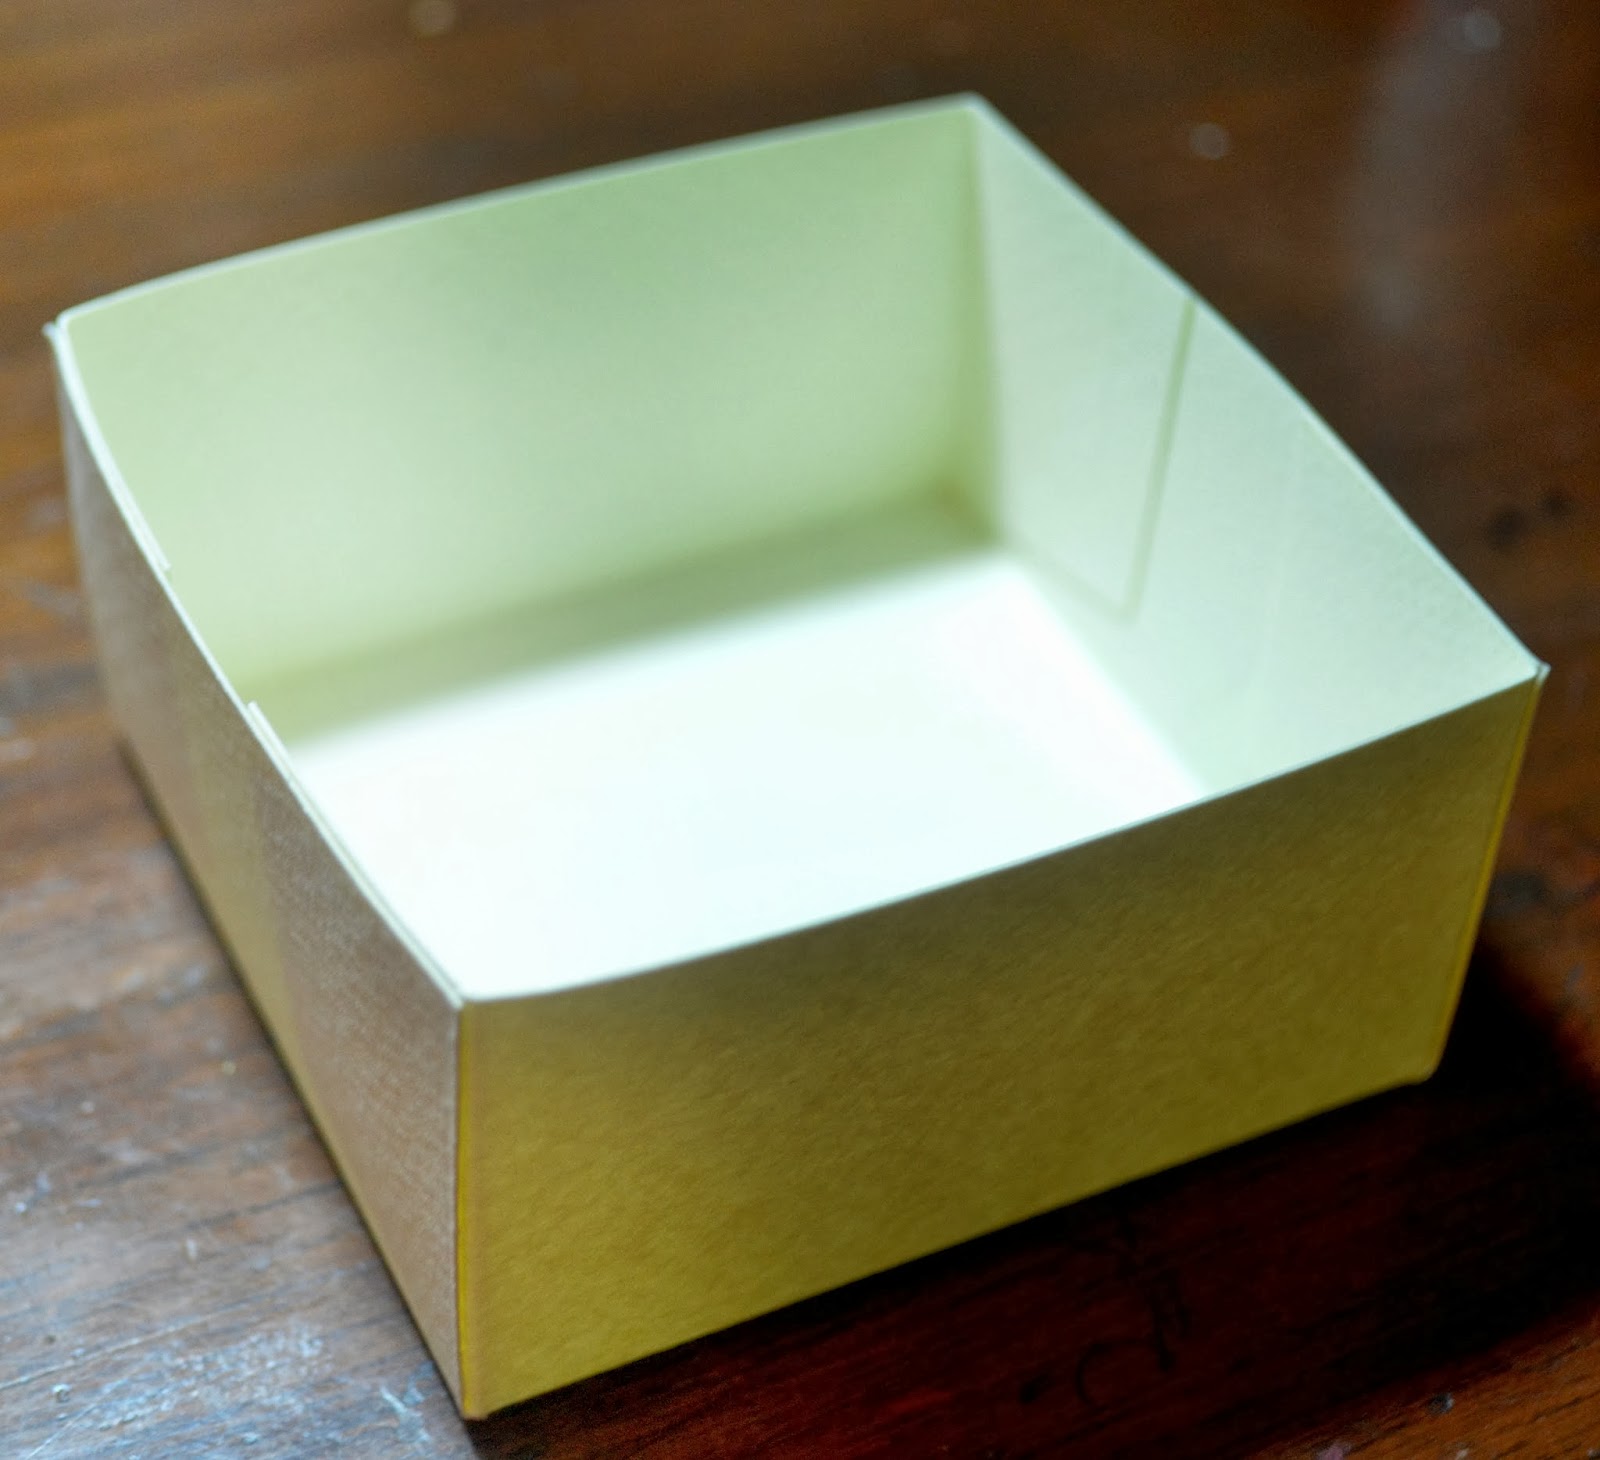
So here is what i have made. Its a Easel card with a box. I upcycled an old box adding a card on the top.


Isn't it gorgeous?
I've fussy cut some elements from the paper pad and added to the card. I've used some prima bling aswell. Our store has a lot of colours in it, Do check out Our facebook page for the same! I've made some flowers using memory box aster die on which I've lightly brushed some gesso.
Hope you all liked what i made.
Thanks for stopping by
Hugs
Anchal Sapra
So today i decided to make something for myself as a birthday gift lol see this is what happens when you are a crafter n you want to recive something handmade especially created for you :P
Because i am a vintage fan i decided to use the Gorgeous Prima Divine paper pad!! Its a fabulous paper pad lots of pretty vintage prints!
So here is what i have made. Its a Easel card with a box. I upcycled an old box adding a card on the top.


Isn't it gorgeous?
I've fussy cut some elements from the paper pad and added to the card. I've used some prima bling aswell. Our store has a lot of colours in it, Do check out Our facebook page for the same! I've made some flowers using memory box aster die on which I've lightly brushed some gesso.
Hope you all liked what i made.
Thanks for stopping by
Hugs
Anchal Sapra