
Hey everyone!
Vinita here Today!
Vinita here Today!
Have you seen the new 3D stencils, new critter sheets ( all are my favorites now) and bold Word Chiplets September release by DCAM!
Lots of amazing NEW products to be having fun with and I have some new oxide inks in the house! I had a lot of fun with my new stencil and have 2 cards to share with you all! A good combination for sure as the oxide inks blend so very well. The stencils are the focus on Today's cards.
Lots of amazing NEW products to be having fun with and I have some new oxide inks in the house! I had a lot of fun with my new stencil and have 2 cards to share with you all! A good combination for sure as the oxide inks blend so very well. The stencils are the focus on Today's cards.
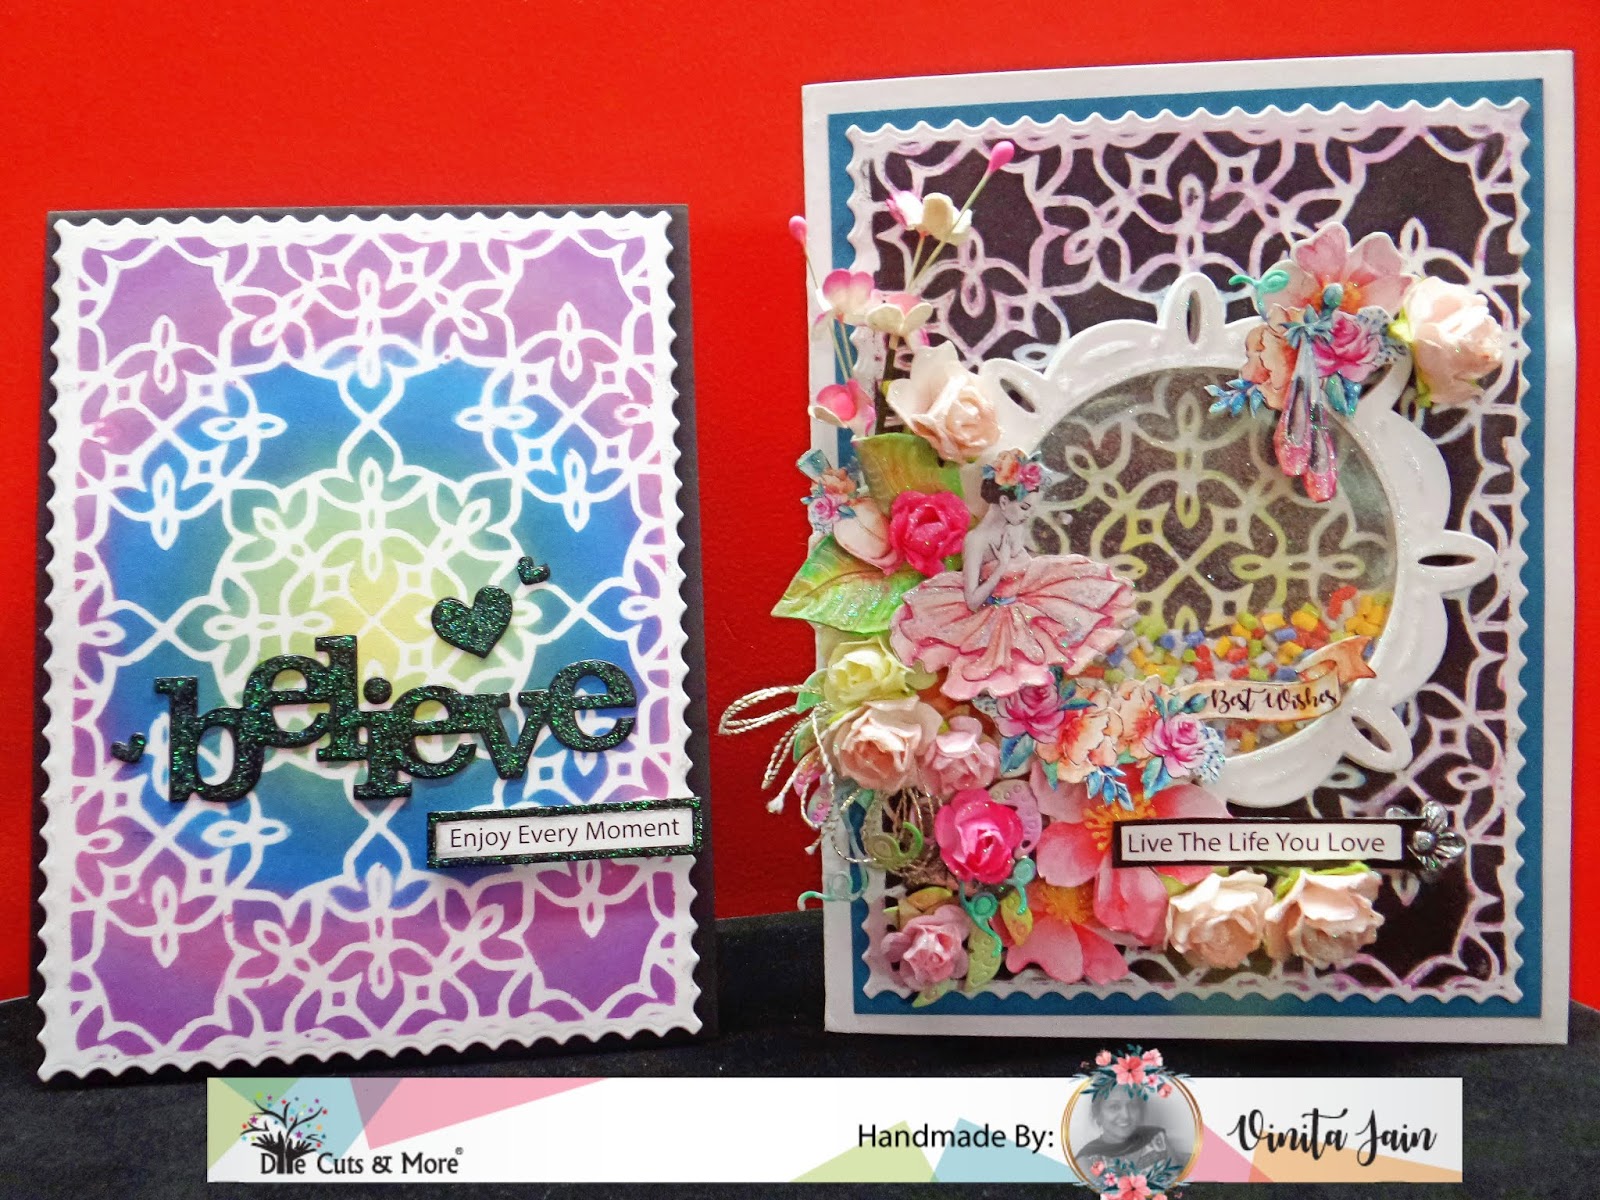
I have two techniques to share with you using the same Mandala stencil!!
First, create your own patterned paper with stencils.

Here are a few steps for how I created my background.
I used the 8"x8" stencil to create my own background. Placed my mandala stencil on a whits CS. Then I used oxide inks with a finger dauber for each color to create the pattern and masked the white CS around the edges. I started at the centre of the pattern in a circular motion and added the color through the stencil using DO.
Once I had added all of the colors I removed the stencil carefully.
Card#1

Card#1

I didn't want to take anything away from the background, so to finish my first card I added a bold die cut word out of black CS with a sentiment strip from the Blooming Beauty critter sheet and some die cut hearts.

I added some clear crystal drops to allow the color shine through the sentiment.

I added some clear crystal drops to allow the color shine through the sentiment.
Card#2
I used the same stencil on my second card. I don't want to waste the ink.


In this technique, I just sprayed some water using a mist bottle on the stencil which already inked (used for my first card) and quickly placed the stencil, took the pattern on another piece of white CS. Removed the stencil and I got my new pattern without wasting my ink.
You can keep the pattern same if you want to decorate it but I added a further step on it.


I took my same stencil and placed carefully where I got these inked patterns and covered all around the edges with masking tape again.

Now I added Distress black soot ink to fill those empty space to fill. You can see how the colors are more intense!

Now I added Distress black soot ink to fill those empty space to fill. You can see how the colors are more intense!
I converted this background pattern into a mixed media shaker card with the theme "Live the life you love!" I am in love with the new Blooming Beauty critter sheet, so pretty!!!

So I used this motif as a focal point with shaker elements and some embellishments using critter sheet florals to highlight this wonderful Blooming girl!


So I used this motif as a focal point with shaker elements and some embellishments using critter sheet florals to highlight this wonderful Blooming girl!


I fussy cut the beautiful lady, floral patterns along with a pair of shoes with text sentiment banner too from the critter sheets. Then I applied a thin line of clear crystal drops carefully on all the fussy cut-outs and embellishments.

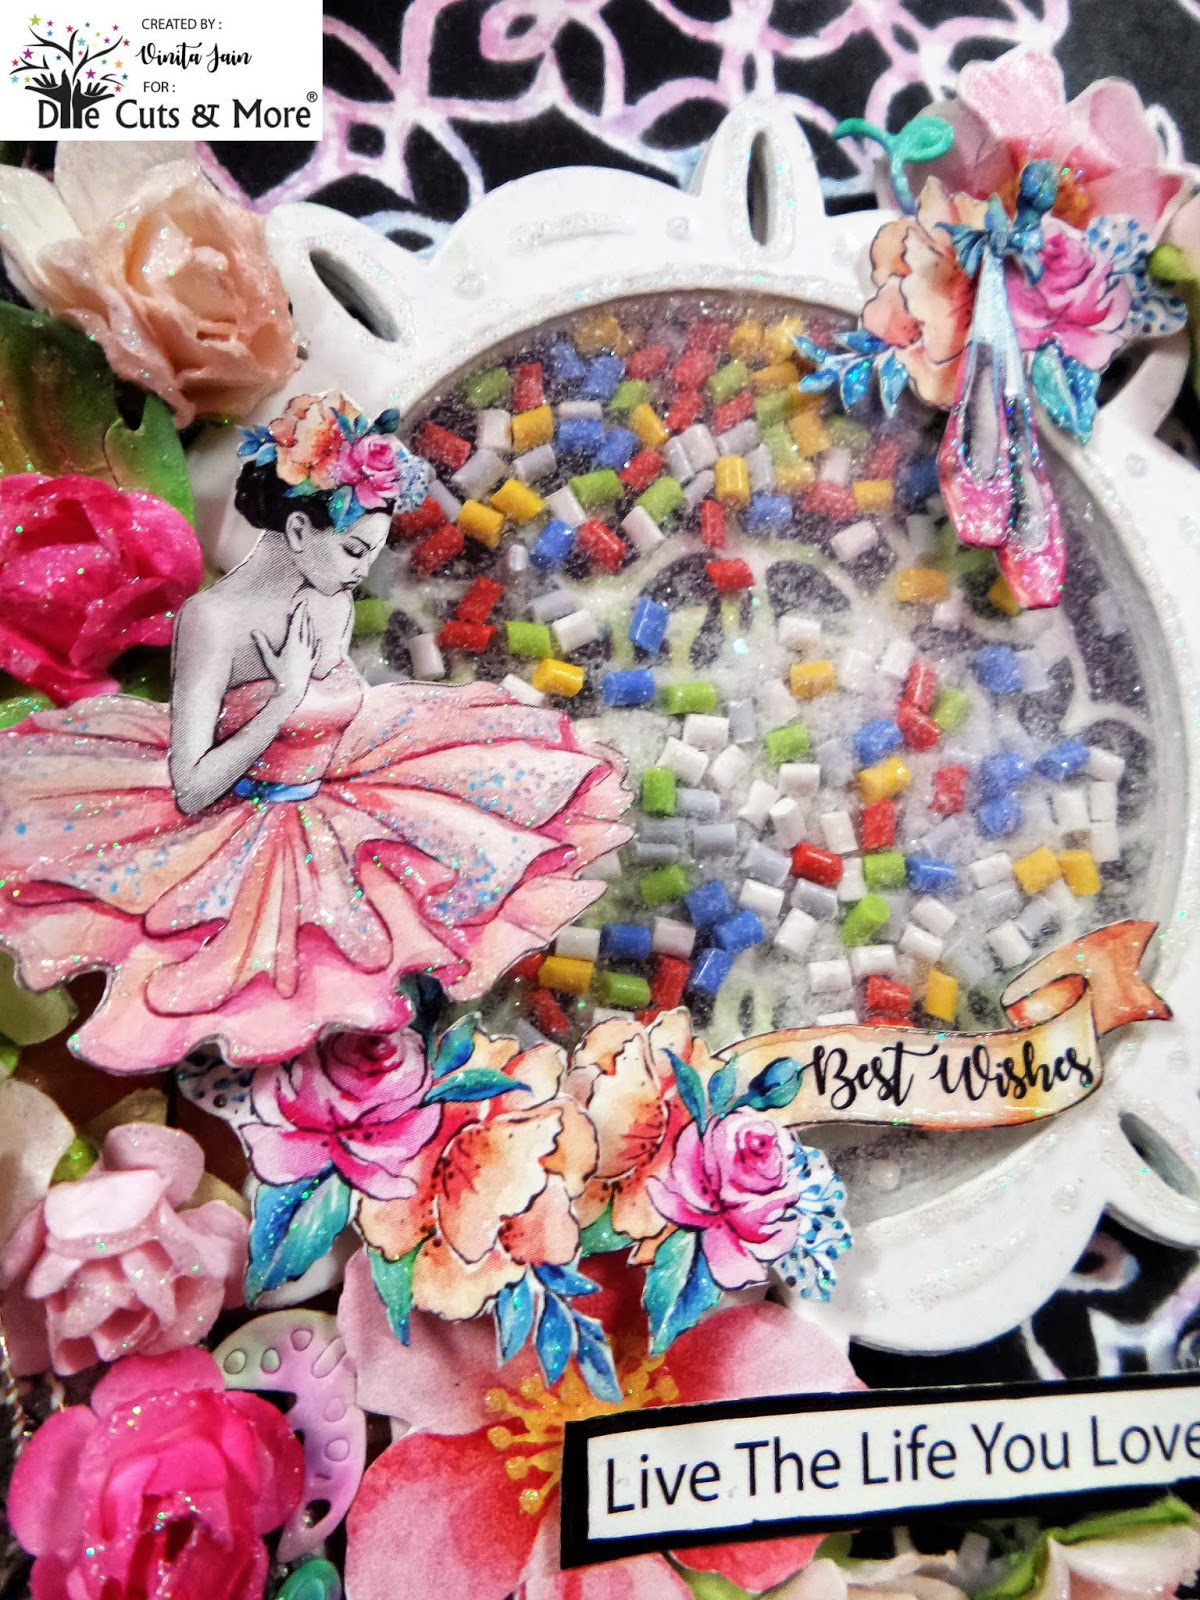
Die cut rangoli frame out of the white sheet and white foam sheets, made a thick stack of them to move around my shaker elements easily.


I gave a watercolor wash effect to my duo die cut leaves.


Now adhered that stack of rangoli frame with acetate on it. In the window, ice glitter candy is poured and sprinkled some colorful confetti in it, so shimmery and shiny:)D.
Now created the whole scene with all the elements I put in. As the final step, I adhered a metal leaf and flower charm too and added clear crystal glitter to other pretty embellishments clustered around the frame.
Now created the whole scene with all the elements I put in. As the final step, I adhered a metal leaf and flower charm too and added clear crystal glitter to other pretty embellishments clustered around the frame.

Thank you so much for stopping by; I hope you enjoyed them!
A list of supply that was used can be found by clicking on the link below:
http://diecutsandmore.com/product/blooming-beauty/
http://diecutsandmore.com/product/blooming-beauty/


No comments:
Post a Comment
Thanks for your visit to our blog...do visit us again.