
Hello DCAM friends!
Happy Tuesday!
Happy Tuesday!
This post is all about Romantic Peonies!!!
Flowers that don't die are awesome! I love all the paper flowers, how gorgeous and realistic they are! Plus I gotta say I really like the idea of beautiful blooms that will stay pretty for months with no extra efforts required!
Warning: Picture heavy post


I will show how to make these flowers down step by step, to make them as simple as possible. They will take some time and creativity. But trust me- the energy spent will be worth in the end!
Peonies gradually get larger. I am not giving you a size it really doesn't matter but it should be round in shape as Peonies petals are ruffled, romantic and loose.
I found a pretty clip art at Pinterest and inspired with colors and try to make look like these flowers and leaves!

Duplex crepe paper Peony #1
Set up your workstation. Here I am using double shade pink color crepe paper and green color crepe paper, simple glue, floral wire, yellow color pollens. I already die cut my peony petals and leaves in different sizes and shapes.

Take a floral wire and make a bunch of yellow pollens and make a hook to fit in the wire to make stamens for centre.

Note: As I mentioned by writing pencil, I added more petals while making this.
Cut 26 smallest petals, next size 16 petals, largest size 8 petals ( so in all 50 petals) and 20 small & big size leaves. You can cut petals easily once at a time out of crepe paper.

Shape all the petals and leaves. Take a petal and stretch with your index finger and thumb starting from the middle of the petal pulling to either side of the petal to achieve a spoon shape, shaped all the petals like this. Now attached them to stamens.

Now let's start adding our first set of smallest peony petals as I have shown in the pic. Start laying them around the stamens one set overlapping by adding glue.
Now add the next size petals. Repeat the above process just like the first set of petals that you have already attached to the stamens. Continued this process, now attached the largest size petals, in the end, repeat this process until you have achieved your desired shape of the peony. It should be round in shape.

Voila done, love the desired and gorgeous result!
Pastels and Pink Shades Paper Peonies#2
Workstation: Gather your material: watercolor sheets, dye inks, daubers, embossing pad, embossing tools, glue gun, pollens, floral stem.
Die cut some different sizes petals for peonies out of a watercolor sheet. Inked them all using daubers.
Note: Feel free to use different colors than what I've chosen. Peonies also come in bright pink, cream, coral, lavender, red and yellow. Your petals can be all in the same color or you can choose graduations of color as I have done.

Dip them for 4 to 5 seconds in a bowl filled with water. Press those flowers in a paper towel to absorb the extra water and shaping them easy to break up the paper pulps.
If u need cut the slits of the petal edges in between to shape and curve them as I shown in the pic.


Shape them using embossing tool if you don't have it you can use the piercing tool too.


Do all the same steps for creating leaves too.

To create the centre part of the Peony repeat the same process as mentioned for making crepe paper Peony. I added 3 layers in all of different sizes petals.
Crafters Tip: Use your heat glue gun on the low heat setting to avoid burning your fingers.
When you add your second row of petals, wrap them so that the petal cover the seam opening of the first row of the petal. Keep adding petals moving around the base of the flower evenly. Keep glueing and shaping. When your flower is almost finished the last layer of the petals should be placed a little lower on the stem to look like the flower is fluffing open at the base like peonies are known for. Now finished it off add your green leaves and pinch a little bit the, done!!!


Peony#3
I couldn't stop myself making more of these beauties.


Peony#4
This is how you start making a bud.


I wrapped them all in a mesh cloth with some grasses!


DCAM Supply List
https://www.diecutsandmore.com/all-categories/dcam-brand/build a flower- peony-die-bonus flourish-3036


Peony#4
This is how you start making a bud.


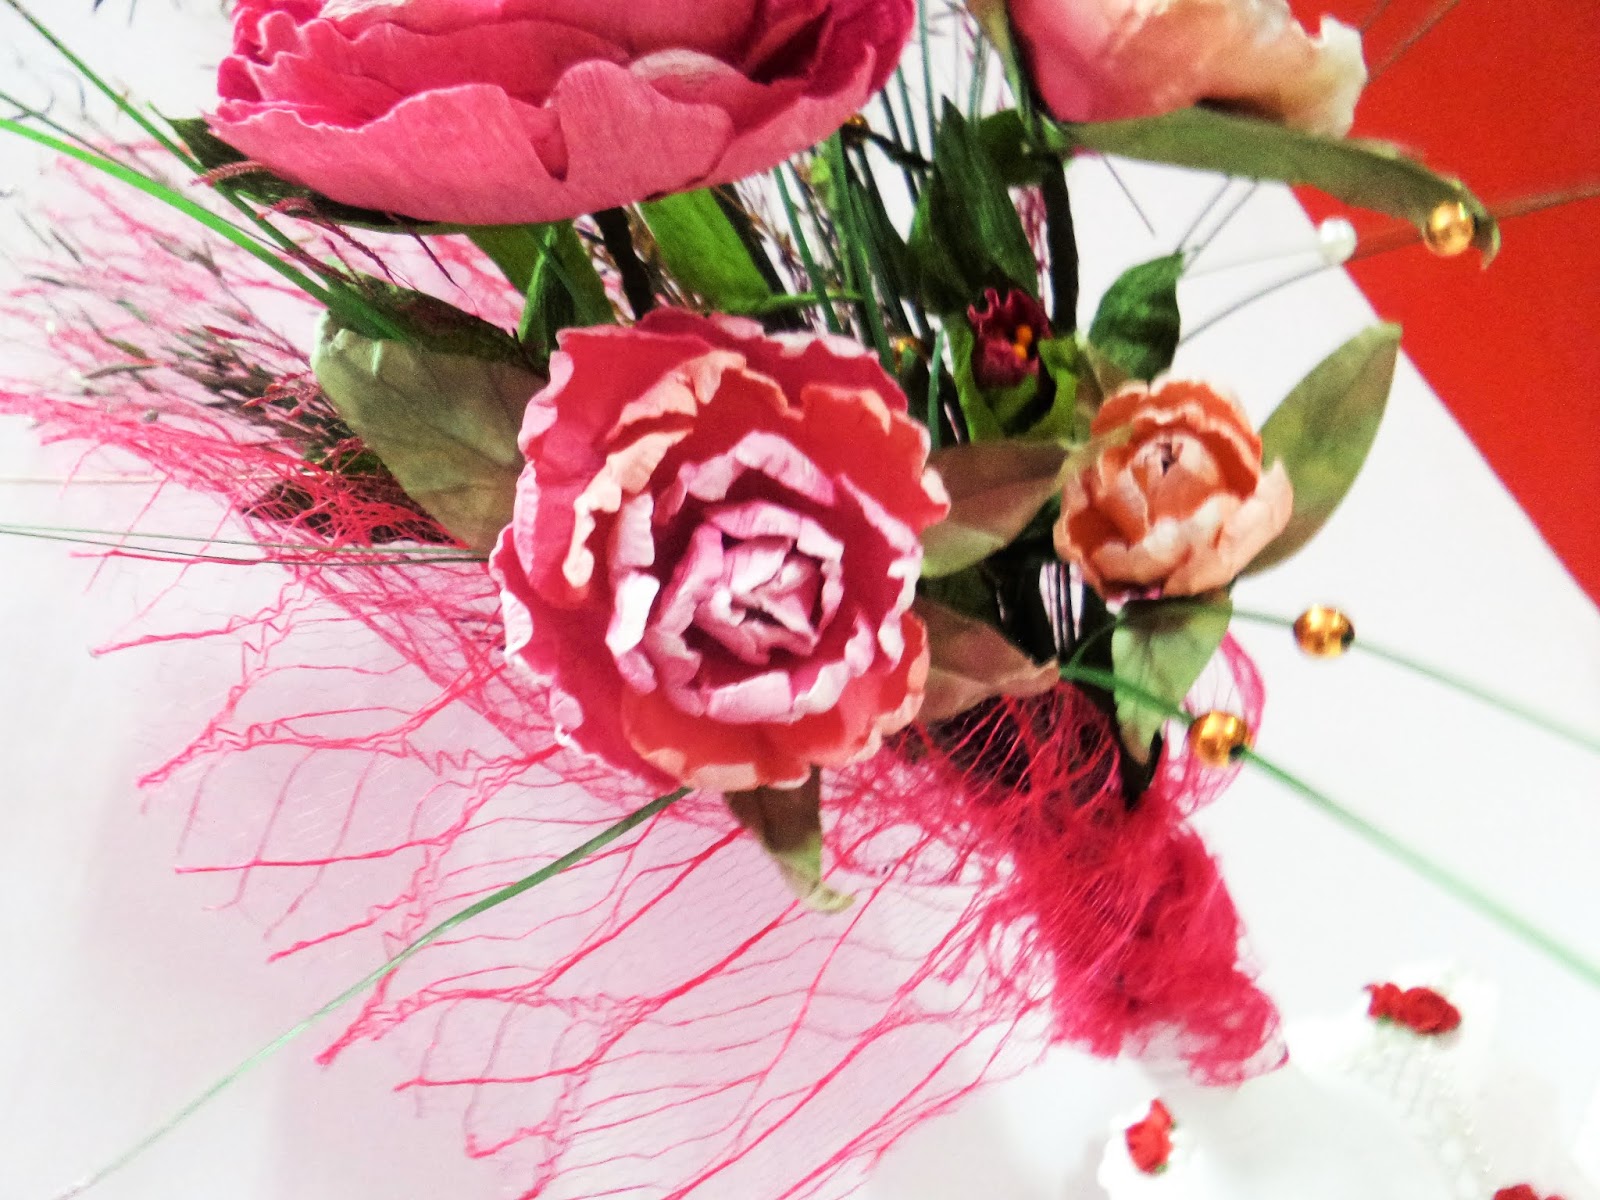


Wow! Can you believe they look so good???
The color palette is completely up to you and almost endless!
Thanks for stopping by!
Sending Love!
Vinita Jain
DCAM Supply List
https://www.diecutsandmore.com/all-categories/dcam-brand/build a flower- peony-die-bonus flourish-3036
No comments:
Post a Comment
Thanks for your visit to our blog...do visit us again.