Total Pageviews

Wednesday, 20 February 2019

DCAM February 2K19 Die Release inspiration

Hi Friends,
Today I wanna share with you all a very special release Inspiration. This release is very close to my heart as all the dies in this release are designed by me from scratch. And the way they have turned out is just amazing. I got the chance to play with these dies and wanted to share what i created with you  here. So lets get started...

In This 1st envelope I have used Swirl Lace Die and New Envelope Die. The Sentiment is Congrats Chiplets by DCAM  which I have heat embossed using Gold Embossing Powder.


In The 2nd Envelope Below I have used Embroidery Lace die and Frame chiplets by DCAM and some flowers from my stash.


In The 3rd envelope I have used a pattern paper with Crochet Lace Die and Congrats Chiplets by DCAM


Again in the 4th Envelope I have used  Swirl Lace Die and some flowers from my stash.

In the 5th. Envelope  I have used Swirl Lace Die ,Celebrate word with shadow Die , Moroccan Tile Envelope Topper Die and so flowers from my stash.

The last 2 envelopes are made out of Long Envelope Die / Split Long Envelope Die  (compatible with Regular Size Machine) , Which I did with a student who wanted to make baby shower envelopes for her Daughter In Law. The stamps are hers only. In the 3 rd envelope below I have used Royal Envelope Topper Die as frame. I just wanted to add these to give you an idea how the tall envelope looks.


Last 3 Envelopes I wanted to include as bonus, I just created them in 15 minutes flat (All 3) to show you the versatality of these dies.


Hope I was able to inspire you, If so please leave in your love through Comments.


Monday, 18 February 2019

4 Designer Shagun Envelopes!

Hello to all!
Happy Monday!

Vinita here today from New Creations as my 2nd term! Woohoo!!! Back once again!! Thank u soooo much dear Mansi for all trust!

Envelopes are always so perfect for any special occasion whether it is a wedding ceremony, birthday celebrations, festive occasion, baby shower or any occasion with a message inside!

So today I am presenting different stylish Envelopes with the new launch by DCAM this month!!!!


This is the envelope die base. There is a crease line, fold them and cover up with the other one. You will get a simple long envelope in 5 minutes all, so quick and easy now!


Envelope#1
Traditional  Style Envelope


Front image


Back cover


Body with crush material - felt clothing - Beautiful Tassel latkan with clayed parrot - colorful pom pom lace!
The tassel and clay parrot made by myself to enhance the beauty of this envelope and gave it a more traditional look!
It's very easy to make a tassel as shown in the pic. I used some silk threads, a cap for hanging, glued that tied silk threads inside the cap and cut the silk thread loop from the centre, voila done! And added those handmade clay parrot with some beads and pom poms through a very thin wire.


Envelope#2
Fancy Moraccon style Envelope


For this, I die cut the pretty Moraccon style envelope topper in white.  On a white panel created a colorful Distress Oxide background. Color those pretty blooms from an uncolored critter sheet, fussy cut them and added a bannered sentiment.


Envelope #3
Alcohol inking with dry embossing


This envelope features a colorful background made with reflective Yupo paper and different alcohol inks with mixative gold and did dry embossing using envelope topper. Then highlighted it with my white gel pen, added some pearl dots in silver. The big and bold celebrate chiplet sentiment with some party flavour cutouts from the critter sheet. Finished it off with a golden string.


Back cover 


Envelope #4
Envelope with a pocket flap


Back cover


Hoping you all enjoyed these simple yet elegent choices! Would love to see yours now!
Happy Crafting!

Monday, 31 December 2018

calender layout- happy 2019

Hello crafty friends!

Happy 2019!
Happy & Prosperous New year!
Today it's 31 st December..and last day of 2018..so here is my post with 2019 calendar..saying bye bye to 2018 n welcoming 2019..


I have made a 12"x12" layout calendar. For the base I have used black thick 350 GSM cardstock on that I have used marble print pattern paper in light purple colour ,edges distress with distress tool. Then I did stenciling using DCAM 3D stencil and distress oxides in few places.
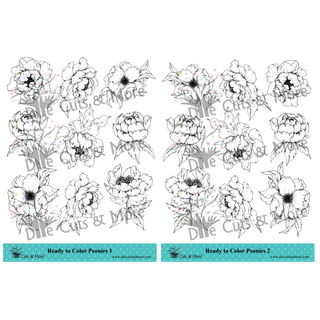
I got 2019 calendar printed n layered with black cardstock and placed on my layout in desired place..and then rest of the area decorated with DCAM word chiplets 'happy' .2019 is done with a big number stamp. Flowers I have used from DCAM ready to color images..on which I have used very easy colour technique ..as I wasn't in mood to colour the images..I distressed the whole images with dusty Concord distress ink and then try to remove color  with water brush..so you get this shaded water colour look. Then again edges distress after fussy cutting. Used stamped sentiments in few places like #craftylife #craftyfriends😁👍and create happiness today! 
All the best for 2019..
Thank you
Love n hugs
Daksha

Supplies used:

http://www.diecutsandmore.com/ready-to-color-peonies-2990


http://www.diecutsandmore.com/all-categories/dcam-brand

http://www.diecutsandmore.com/index.php?route=product/search&filter_name=Ice%20candy%20glitter


Thursday, 27 December 2018

Bold sentiments with stitched patterns!

Hello everyone!
Happy Thursday!

Hoping you all enjoyed Christmas with your friends and family!

Now time to create something different for celebrating New Year and I made a love card too. I did the stitching first time on my cards and very much happy with pretty results and the bold chiplet sentiment has truly enhanced the beauty of these projects!!!


Card #1
Celebrate


I created holes to stitch my white panel using a die. It's a double shade thread, created a random stitched pattern and left the centre part to adhered lotus which is a critter sheet and I fussy cut them. Added the bold Celebrate chiplet sentiment. 


Card #2
Love

Again I created the holes on a white panel for stitching. Then I roughly drew a heart shape lightly with my pencil. And using the double shade pink thread and created a stitched cute heart.


Now adhered this white panel on my card base. Added the Love Chiplet with a tiny heart in pink.
Isn't it soooooo cute!!!

Hoping I inspired you!
Have a Happy, Healthy and Prosperous New Year 2019!!!

Tuesday, 25 December 2018

Snowy Christmas with DCAM!

Hey guys!
Wishing you a very happy holiday season from the DCAM Team <3


Spardha here today, from The Lazy Owl, with a snowy Christmas Shaker Card Tutorial to share with you :)
Who doesn't love this season?! It's cold, it's cozy and perfect :)
Unfortunately for us, it doesn't snow in Delhi.


So I created my version of a snow globe using DCAM Tinsel Dust!
Watch the video below for the tutorial:


I hope this post brings in some joy and inspiration to your creative minds.
Don't forget to share your projects with us :)

Products Used (DCAM Store):


--- Merry Christmas!---

Monday, 17 December 2018

Celebrate some special moments Layout!

Hello everyone!
Happy Monday!

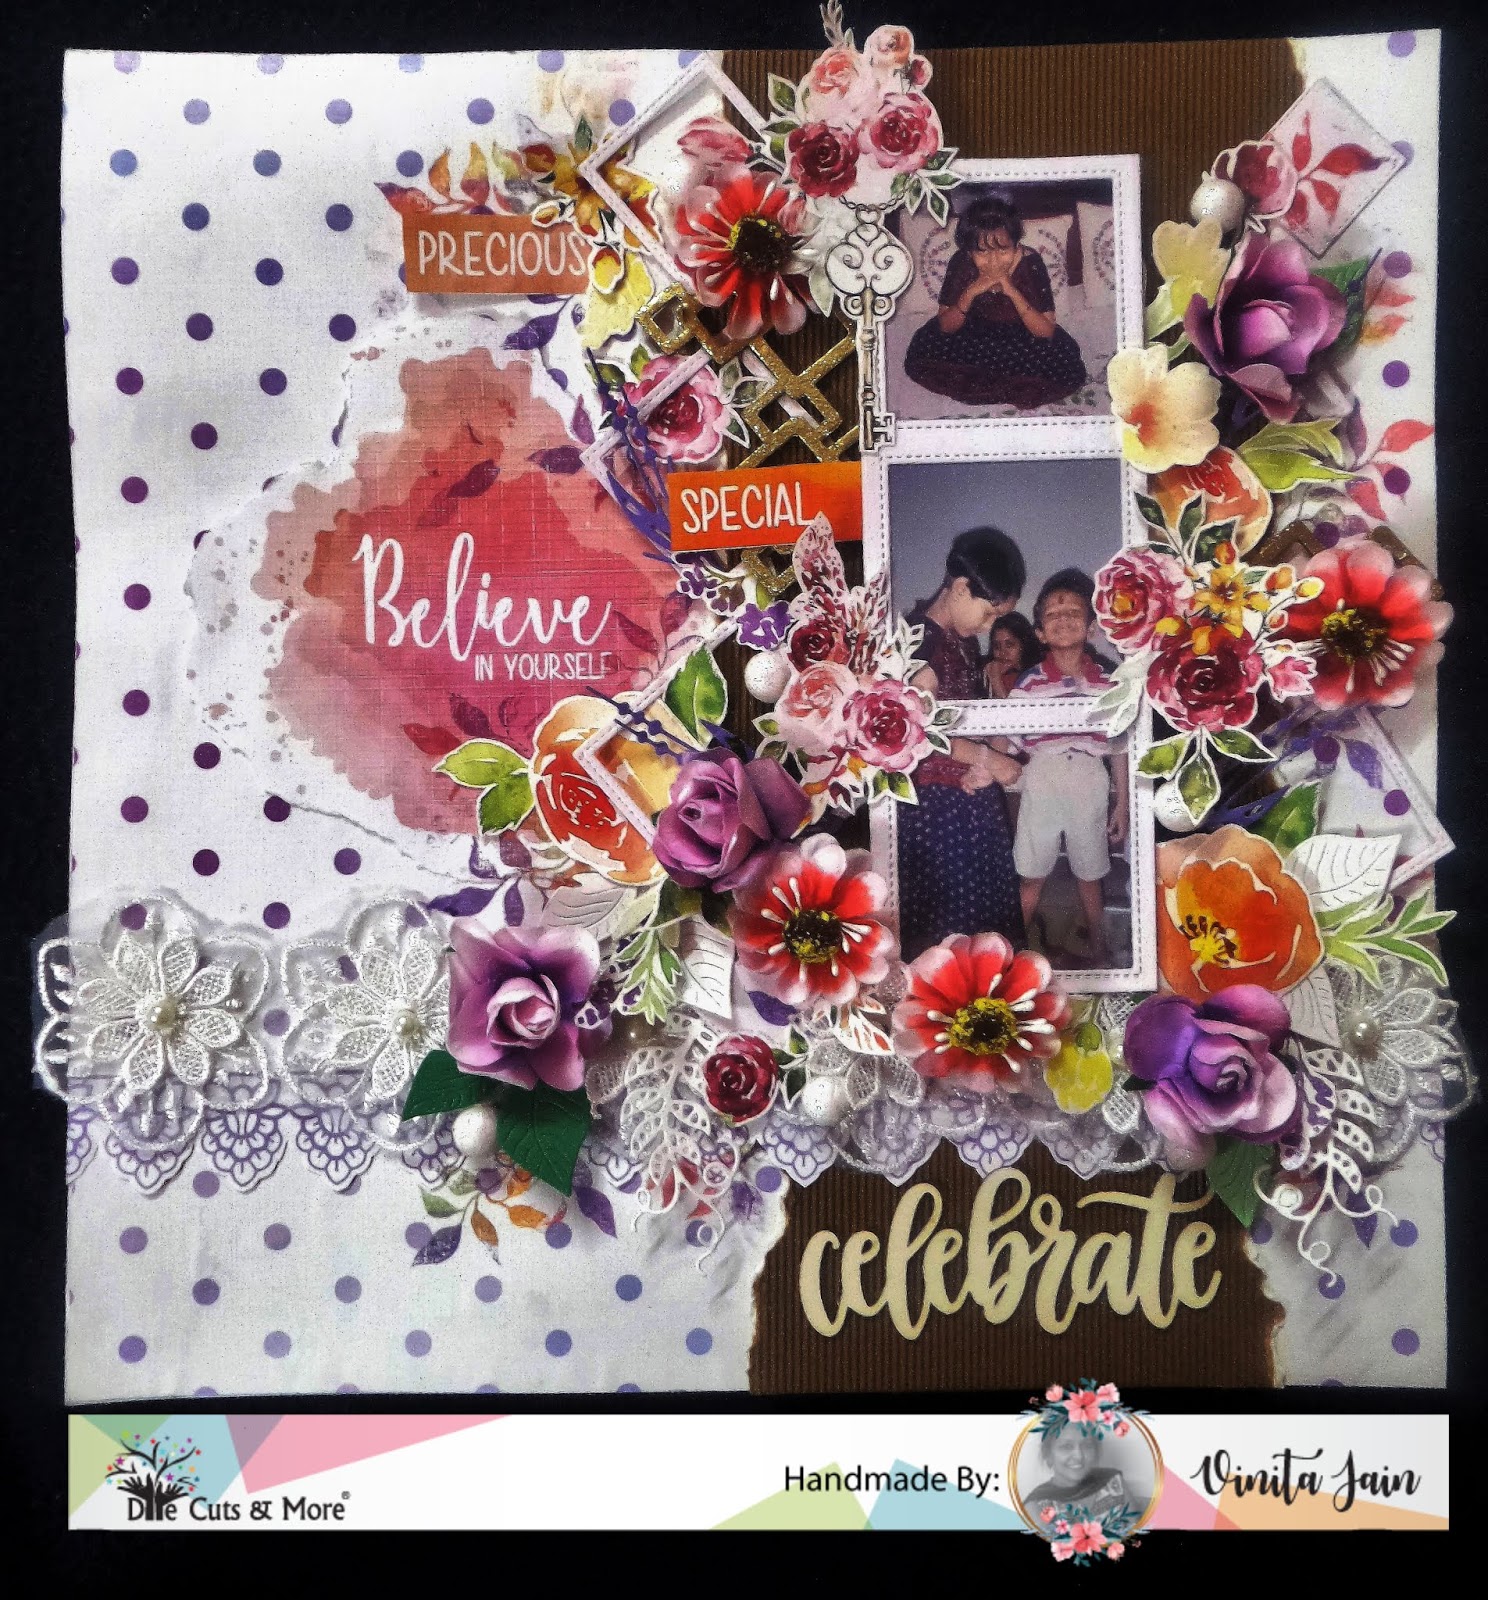
Vinita this side with my new pretty layout this time showcasing new critter sheets release and scripted sentiment!


This specific layout is all about believing in traditions and all Indian festivals, their significance!
The images are the celebrating Raksha Bandhan Festival! The significance of Raksha Bandhan is huge in our country! It is celebrated no lesser than any other festival, as it is dedicated to the love of a sister and her brother. It holds immense importance in our lives and in Hinduism! On this day sister ties Rakhi around her brother's wrist while the brother undertakes an oath to protect his sister until death and I totally believe in this tradition. He vows to stand by her sister through thick and thin. Sisters tying the sacred thread around the wrists of brothers is a symbol of attachment, meant to strengthen their bond of love,  so I wanted to capture those precious and special moments and gifted this LO to my daughter.
These cute photos of my children have long been waiting for their time!


I wanted to create a delicate, multi-layered and voluminous page with a lot of love and tenderness!
I fussy cut out the images from the critter sheets, some die cuts and a scripted chiplet word celebrate, later I chose the white one.
I chose a watercolored dotted PP for this LO. and added a torn strip of the corrugated sheet in dark brown with some watercolored look sentiments.
There is a lot of stamping work using some leaves, heat embossed some chippies in gold glitter and embellished it with some beautiful flowers along with a pretty floral lace.


Now some close ups: